How to Create Minecraft Tutorials: Lesson Planning, Screen Recording and Video SEO
A hands-on guide to planning, recording and publishing Minecraft video tutorials: learning objectives, scripts, capture, captions, chapters and honest video SEO.
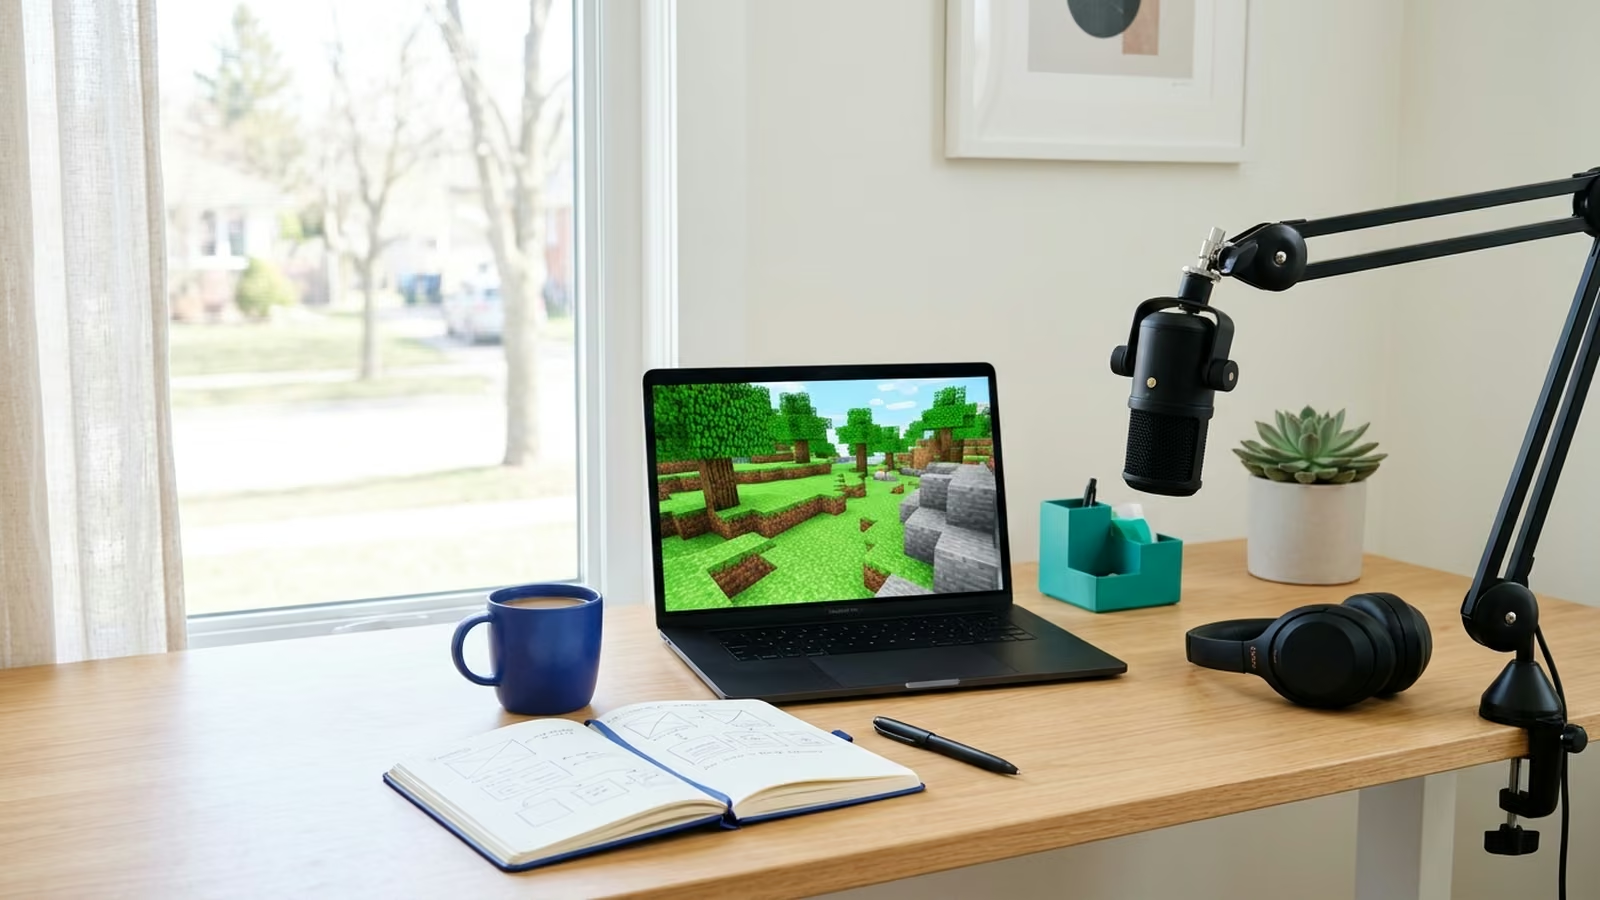
A good Minecraft tutorial is a short lesson that happens to be filmed inside a game. The people who search for one are rarely browsing for fun. They are stuck: the launcher will not connect, the redstone door will not close, the server rejects their version. They want the fix, in order, without a ten-minute intro. Treat the video as a lesson first and a piece of content second, and most production decisions make themselves.
This guide walks through the full workflow — objective, outline, script, capture, editing, captions, chapters, metadata and measurement — using a public community server as the worked example. The same method transfers to any software walkthrough you will ever record.
Defining the learning objective
Write one sentence before you open any recording tool: "After watching, the viewer can ___." Fill the gap with a verb you could check. "Join a multiplayer server from the Java Edition launcher" is an objective. "Learn about servers" is a topic, and topics produce rambling videos.
The objective sets the length, the order of steps and the moment the video should end. If a section does not move the viewer closer to that sentence, it belongs in a different video.
Choosing a Minecraft tutorial topic
The strongest topics sit where three things overlap: a task people repeatedly get stuck on, a task you can perform cleanly on camera, and a task that is stable enough not to change next month. Good sources of ideas are server Discord channels, the comments under your previous uploads and the questions new players ask in chat.
For a practical exercise, take a public project such as MinecraftsGame, a gaming community that runs several survival and PvP servers. Its site gives a tutorial planner everything needed to scope a lesson: a list of servers with different rules, an account step and a connection step. "How to pick and join your first server" is a narrow, checkable topic built from that material. (We use it here purely as a public example; this is not a partnership or course.)
Understanding beginner vs experienced players
The same task needs two different lessons depending on who watches.
- Beginners need the words named on screen ("Multiplayer", "Add Server", "Server Address"), the reason behind each click and a check that the step worked. Never assume they know which edition they own.
- Experienced players want the answer in the first thirty seconds and a timestamp to skip to. Extra explanation feels like padding to them.
Pick one audience per video and say it in the first ten seconds: "This is for players who have never joined a server." Viewers who are not the audience leave early, which is better for your retention data than leaving halfway.
Building a lesson outline
Break the objective into steps a viewer can complete one at a time. A useful skeleton for almost any how-to video:
- Outcome preview — show the finished result in five seconds.
- Prerequisites — edition, version, account, anything needed before step one.
- Steps — three to seven, each ending with a visible check.
- Common errors — the two or three failures you actually see in comments.
- Next step — one link to the logical follow-up lesson.
The MinecraftsGame getting-started guide is a tidy model of this shape: install a supported version, create an account, choose a server, connect through the Multiplayer menu, start playing. Each step has one job and a clear result. Mirroring a project's own published sequence also keeps your video consistent with what viewers will see when they arrive on the site.
Script and storyboard preparation
You do not need a word-for-word script, but you do need a two-column plan: what the viewer sees on the left, what you say on the right. Write the spoken lines out loud, not silently — tutorial scripts written for reading come out stiff on microphone.
The storyboard can be screenshots pasted into a document. For each shot note the in-game location, the menu state and any setting that must be in place (render distance, GUI scale, time of day). Setting GUI scale larger than usual makes menus readable on phones, where a large share of viewers watch.
Screen capture and audio recording
Record at the resolution you plan to publish, at a steady frame rate, with the HUD and cursor visible when menus matter. Free tools such as OBS Studio handle this well; what matters more is a clean setup:
- Use a fresh test world or a quiet area of the server so chat and other players do not distract.
- Turn off desktop notifications and close anything that can pop up.
- Record voice on a separate track from game audio so you can balance them later.
- Keep the microphone a hand's width from your mouth and record in a soft-furnished room.
- Do one take per step rather than one long take; re-recording a single step is far cheaper.
Before filming on any server, read its rules and ask staff if you plan to show other players. For the game itself, Mojang publishes Minecraft Usage Guidelines that explain what creators may do with gameplay footage.
Explaining multiplayer server onboarding
Server-joining tutorials fail in predictable places, so script them explicitly:
- Edition and version. State which edition and version range the server accepts, and show where the version is chosen in the launcher.
- Accounts. If the community needs a website account in addition to the game account, explain why and in what order.
- Server choice. Compare the options by rules and play style, not by hype, so the viewer can decide.
- Address entry. Zoom in on the address field. Tell viewers to copy the address from the official server page, never from a comment.
- First minute in-game. Show the spawn area, where the rules are, and how to ask for help.
Avoid filming a specific IP address unless the project confirms it is permanent — addresses change, and an outdated one turns a helpful video into a support ticket.
Editing and adding captions
Cut silences, false starts and loading screens. Keep every click the viewer must repeat; jump cuts are fine, but never skip a step that changes the screen. Add a short on-screen label when you open a new menu.
Captions are part of the lesson, not an extra. Many viewers watch muted, and game terms are easy to mishear. YouTube's help page on how to add subtitles and captions covers uploading a file, auto-sync from a transcript and typing them in. Automatic captions are a draft: correct every block name, command and server name before publishing.
Screenshots, chapters and visual annotations
Export three or four still frames from the key steps. They work as thumbnail candidates, as images for a written companion post and as a quick reference viewers can save.
Chapters turn a tutorial into something people can navigate. According to YouTube's video chapters documentation, the first timestamp in the description must be 00:00, you need at least three timestamps in ascending order, and each chapter must last at least 10 seconds. Name chapters after outline steps — "Choose a server", "Add the server address" — not after jokes.
Use annotations sparingly: an arrow or highlight on the button being pressed, a box around the field being typed into. One annotation at a time; more than that and the viewer stops reading them.
YouTube titles, descriptions and thumbnails
The title should say the task and the context in plain words: "How to Join a Minecraft Server (Java Edition, Step by Step)". Put the edition or version in the title when it changes the steps.
The description repeats the objective in one sentence, lists the prerequisites, gives the chapter timestamps and links to the official sources a viewer needs — the server's own guide, the game's download page. For thumbnails, YouTube's custom thumbnail guidance lists the current size and file limits. Show the end state of the task (the server list, the finished build) with a few large words at most.
Video SEO without misleading claims
Search on YouTube rewards videos that satisfy the query, so the honest route and the effective route are the same. Use the words players actually type, describe exactly what the video shows, and do not promise what it does not deliver. YouTube's spam policy explicitly prohibits misleading titles, thumbnails or descriptions that trick viewers into clicking a video that does not deliver what was promised.
In practice: no "free ranks" or "secret IP" claims, no version numbers you did not test, no tags stuffed with unrelated games. If a server is your example, describe it neutrally and link to its official page.
Measuring watch time and tutorial usefulness
Views tell you the title worked. Usefulness shows up elsewhere. In YouTube Studio, the audience retention report highlights key moments for audience retention, including spikes where viewers rewatch and dips where they leave. For a tutorial, a rewatch spike usually marks a confusing step; a cliff marks the point where the viewer got their answer — or gave up.
Pair the numbers with qualitative signals: comments that say "it worked", repeated questions about the same step, and whether viewers reach the end screen's follow-up lesson. Fix the confusing step in a pinned comment first, then in the next version of the video.
Reusable tutorial production checklist
- One-sentence learning objective with a checkable verb.
- Audience named: beginner or experienced.
- Outline of three to seven steps, each with a visible result.
- Two-column script and screenshot storyboard.
- Server or project rules checked; permission asked if others appear.
- Clean capture: test world, notifications off, separate voice track.
- Edit keeps every repeatable click; labels on new menus.
- Captions reviewed for game terms and names.
- Chapters from 00:00, three or more, each at least 10 seconds.
- Plain-language title, honest description, official links only.
- Thumbnail shows the real end state.
- Retention and comments reviewed after the first week.
Run the checklist on your next video and keep notes on where it slowed you down. By the third tutorial the process becomes a habit, and the quality of the lesson — not the volume of uploads — is what brings viewers back.